The Imperative of a Precise 100-Yard Zero
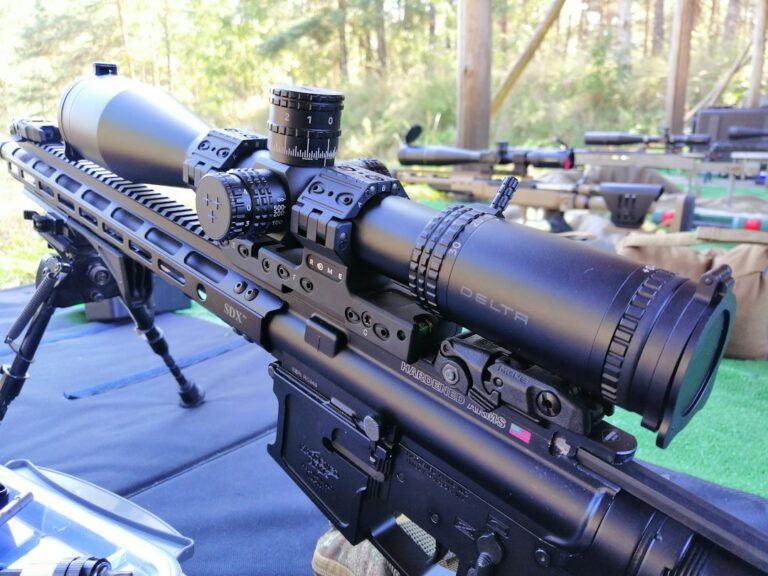
Before we ever contemplate sending rounds downrange to distances measured in hundreds or even thousands of yards, a foundational step must be meticulously executed: confirming or, if necessary, re-establishing our 100-yard zero. This seemingly straightforward task is, in fact, the bedrock upon which all subsequent long-range accuracy is built. Neglecting this crucial initial step is akin to building a skyscraper on shifting sands; any subsequent adjustments, no matter how precise, will be inherently flawed. We understand that the temptation to jump straight to glamorous long-range targets can be strong, but our collective experience has taught us that patience and methodical preparation at the closer distances pay dividends exponentially as we stretch the limits of our rifles and our skills.
Why 100 Yards is Our Gold Standard
The choice of 100 yards for our primary zero confirmation is not arbitrary; it’s a carefully considered distance that offers the best balance of precision and practicality. At 100 yards, the impact of external factors like wind drift and ballistic drop is minimized, allowing us to isolate and precisely adjust for any mechanical inaccuracies in our rifle or optics system. This minimizes error magnification, making it far easier to achieve a truly centered point of impact relative to our point of aim. Trying to establish a zero at a greater distance, say 200 or 300 yards, introduces additional variables that can obscure the true mechanical zero, leading to larger, more difficult-to-diagnose errors. Furthermore, the 100-yard zero has become the standard in virtually all recent long-range shooting guides and instructional materials, providing a common language and reference point for shooters across disciplines. It allows us to speak in universal terms about our rifle’s performance and ballistic data.
The Power of Controlled Groups
When confirming our zero at 100 yards, we never chase single shots. A single bullet hole, no matter how perfectly placed, tells us very little about the true point of impact of our rifle system. Instead, we rely on controlled groups, typically consisting of three to five shots. These groups provide a statistically more reliable representation of where our rifle is consistently sending rounds. A single flyer could be shooter error, an anomaly in the ammunition, or a slight gust of wind. A consistent group, however, reveals the rifle’s true mechanical zero. We aim for tight, consistent groups, indicating both our shooting proficiency and the rifle’s inherent accuracy. If our groups are scattered, it’s a clear signal that something is amiss, whether with our technique, our equipment, or our ammunition, and we must diagnose and rectify the issue before proceeding to longer ranges. This dedication to group shooting at 100 yards saves us immense frustration and wasted ammunition further down the line.
Ammunition: The Unsung Hero of Consistency
One of the most critical, yet sometimes overlooked, aspects of confirming our zero is the absolute necessity of using the same ammunition we intend to use for our long-range session or hunt. This cannot be stressed enough. A different bullet weight, bullet type, or even a different lot number from the same manufacturer can, and almost certainly will, result in a different point of impact. Essentially, a change in ammunition effectively creates an entirely new zero. We have learned through hard experience that meticulous record-keeping regarding our ammunition is paramount. We record the exact load, including bullet type, bullet weight, powder charge (for handloaders), and even lot numbers. This attention to detail ensures that the ballistic data we collect and rely upon is directly applicable to the rounds we are actually firing. Mismatching ammunition is a surefire way to introduce inconsistencies and negate the precision we strive for.
Before heading out for a long-range shooting session, it’s essential to ensure your rifle is properly zeroed. For more detailed insights on this topic, you can check out a related article that covers various techniques and tips for confirming zero effectively. This resource can enhance your understanding and preparation for an accurate shooting experience. For more information, visit this article.
Establishing a Stable Platform and Precise Measurement
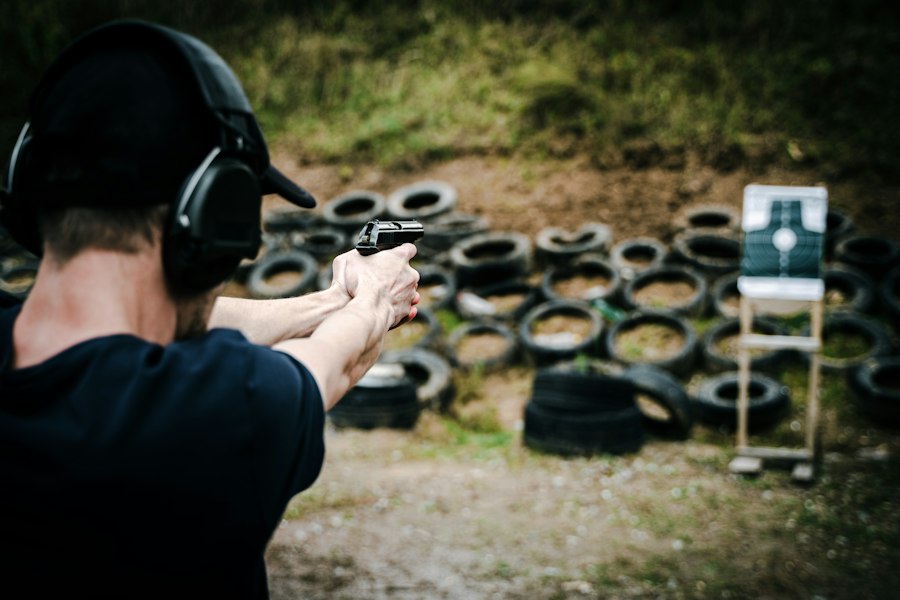
With the understanding that a 100-yard zero is our foundation and that consistent ammunition is non-negotiable, our next focus shifts to the practical execution of confirming that zero. This involves creating the most stable shooting platform possible and meticulously measuring our results to make precise, informed adjustments. We are not interested in guesswork; we are pursuing quantifiable, repeatable accuracy.
The Virtue of a Stable Prone or Benched Position
To eliminate as much human error as possible from our zeroing process, we always opt for the most stable shooting positions available. For most of us, this means shooting from a stable prone position or from a well-supported bench. We utilize high-quality bipods, front rests, rear bags, and anything else that can help us achieve a rock-solid platform. The goal is to minimize rifle movement during the shot, allowing the rifle itself to dictate the point of impact rather than our momentary muscle tremors or breathing cycles. We want to remove as many variables as possible so that any deviation from our point of aim is a true reflection of the rifle’s zero, not our instability. This controlled environment is crucial for establishing an accurate baseline before we introduce the complexities of field positions at longer ranges.
Firing Deliberate Groups and Measuring with Precision
Once we are stable, we fire a deliberate group of three to five shots, focusing on consistent trigger control and sight picture. After the group is complete, we carefully measure the distance from the center of that group to our actual point of aim. This measurement is critical. We use calipers or a precise ruler and aim for accuracy down to the millimeter. This raw measurement, typically in inches or centimeters, then needs to be converted into the language of our scope’s adjustments: MOA (Minute of Angle) or MRAD (Milliradian) clicks. Most modern long-range scopes will have turrets marked in either 1/4 MOA or 0.1 MRAD increments. Knowing our scope’s click value and the distance to the target allows us to calculate the exact number of clicks required to shift our point of impact to the center of our target. There are numerous online calculators and smartphone apps that can assist with this conversion, ensuring we don’t introduce mathematical errors.
The Pitfalls of Chasing Single Shots
A common mistake, particularly for those new to precise zeroing, is the temptation to “chase single shots.” This involves firing one shot, seeing where it lands, making an adjustment, and firing another. This is an inefficient and often frustrating method that rarely leads to a true zero. Each shot, even from the most stable platform, has a slight degree of variance. By adjusting after every shot, we are constantly reacting to these individual variances rather than identifying the rifle’s true mean point of impact. Instead, our protocol is clear: fire a full group, measure the group’s center to the point of aim, calculate the precise adjustment, dial that adjustment once, and then shoot another full group to verify. This systematic approach confirms that our adjustment was correct and that the rifle is now consistently hitting where we intend. It requires patience, but it ultimately saves time and ammunition.
The Importance of Sample Size and Barrel Management
Achieving a truly reliable zero for long-range shooting requires more than just a single group or a quick adjustment. We understand that statistical reliability comes from larger sample sizes, and we also recognize the critical role that barrel temperature plays in maintaining consistent point of impact. Our approach is therefore geared towards generating robust data and managing our rifle’s thermal dynamics.
Relying on Larger Sample Sizes
For serious long-range work, whether it’s for competition or ethical hunting, we have learned that relying on a single 3-shot group to confirm a zero is insufficient. While a 3-shot group can give us a good initial indication, the inherent variability in ammunition, rifle mechanics, and even atmospheric conditions means that a larger sample size provides a far more accurate representation of our rifle’s true mean point of impact. Therefore, we prefer to shoot multiple 3-shot groups or, ideally, multiple 5-shot groups. Our goal is typically to expend 15-20 total rounds during the zero confirmation process. This larger dataset allows us to identify any subtle shifts or inconsistencies that might be masked by a smaller sample. It gives us greater confidence that the zero we establish is robust and reliable, which is absolutely essential when we extend our engagements to extreme distances where even small errors are greatly magnified.
Managing Barrel Temperature Between Groups
One often-overlooked factor that can significantly affect point of impact, especially with repeated firing, is barrel temperature. As a barrel heats up, its harmonics change, which can lead to shifts in where the bullet impacts. A “cold bore shot” often impacts differently than shots fired through a warm or hot barrel. For long-range applications, where our first shot often counts the most, it’s crucial to understand how our rifle performs across different thermal states. To establish a true mean point of impact that accurately reflects the rifle’s performance under typical long-range conditions (where shots are often spaced out), we consciously let the barrel cool between groups. This allows the barrel to return to a more consistent temperature, mimicking the conditions of actual long-range engagements where there’s usually a pause between shots. This practice prevents us from establishing a “hot barrel zero” that might not hold true for the critical first shot of an engagement. We might use a damp cloth, a cooling fan, or simply take a break to ensure the barrel has adequately cooled before firing the next group.
Validating Zero at Mid-Range Distances and Field Conditions
Once we have meticulously established and confirmed our 100-yard zero using controlled groups and larger sample sizes, our work isn’t done. The 100-yard zero is the foundation, but to truly trust our system at long range, we must validate it at intermediate distances and under conditions that mirror our intended use. This step bridges the gap between the controlled environment of the 100-yard range and the unpredictable realities of the field.
Bridging the Gap with Mid-Range Validation
Confirming our zero exclusively at 100 yards, while crucial, only tells us part of the story. Ballistic solvers and external ballistics are theoretical models; they predict bullet trajectory based on a range of inputs. To ensure that these predictions align with reality, we must validate our zero at mid-range distances, typically between 200 and 400 yards. This is where we truly “tie our ballistic solver or turret marks to actual hits.” We will fire groups at these distances, observing where the rounds actually impact relative to our calculated elevation corrections. If our solver predicts a 2.5 MOA come-up at 300 yards, we dial 2.5 MOA, aim precisely, and expect our group to center on the target. If it doesn’t, we carefully adjust our ballistic solver’s inputs (such as muzzle velocity or BC) until the predictions accurately reflect our real-world impacts. This process of data collection and refinement allows us to build a custom “dope card” or ballistic profile that is calibrated to our specific rifle, our specific ammunition, and our specific environment. Recording the real dope (elevation corrections) that centers our impacts at these distances is far more valuable than simply trusting theoretical numbers. This validation instills confidence that our system is truly dialed in.
Confirming Under Realistic Field Conditions
The most precise zero established from a concrete bench might prove utterly useless if we haven’t tested it under the actual conditions we’ll encounter in the field. Therefore, we make it a point to confirm our zero under realistic field conditions. This means moving away from the pristine bench and shooting from the positions and supports we will actually use during a hunt or competition. If we plan to shoot prone off a bipod, that’s how we confirm. If we anticipate using a backpack or a tripod as a rest, we incorporate those into our confirmation process. This helps us identify and mitigate any point-of-impact shifts that might occur due to different rifle supports or body positions. Furthermore, we consider the rifle’s bore condition. If we typically run our rifle with a fouled bore (i.e., not perfectly clean after every shot), we confirm our zero with a fouled bore, as a clean bore shot often impacts differently than a shot from a barrel that has already had several rounds through it. Finally, we initially seek out calm conditions to establish our baseline, minimizing the variable of wind. However, if possible, we then introduce some wind to observe its effects and begin to understand our rifle’s performance in varying atmospheric conditions. This comprehensive approach ensures that our zero is not just theoretically correct, but practically applicable.
Before heading out for a long-range shooting session, it’s essential to ensure your rifle is properly zeroed to enhance accuracy and confidence. For those looking to deepen their understanding of the zeroing process, you might find the article on understanding rifle zeroing particularly helpful. This resource provides valuable insights into the various techniques and considerations that can affect your shooting performance, making it a great companion to your preparation routine.
Final Checks, Documentation, and Ongoing Maintenance
| Step | Action | Purpose | Recommended Distance | Notes |
|---|---|---|---|---|
| 1 | Set up target at initial zero distance | Establish baseline zero point | 25-50 yards | Use a stable rest and consistent ammunition |
| 2 | Fire 3-5 shot group | Check point of impact consistency | 25-50 yards | Ensure proper sight alignment and trigger control |
| 3 | Adjust scope or sights based on group | Bring group to center of target | 25-50 yards | Make small incremental adjustments |
| 4 | Move target to mid-range distance | Confirm zero at longer distance | 100-200 yards | Use known distance markers or rangefinder |
| 5 | Fire another 3-5 shot group | Verify point of impact matches zero | 100-200 yards | Record any deviation for ballistic compensation |
| 6 | Adjust as necessary and repeat | Ensure consistent zero across distances | 100-200 yards | Repeat until group is centered |
| 7 | Confirm zero at maximum expected shooting distance | Final verification before session | 300+ yards | Account for environmental factors like wind and elevation |
As we approach the end of our zero confirmation process, there are crucial final steps involving documentation, resetting our equipment, and maintaining an ongoing awareness of our rifle’s zero. These steps solidify our preparation and ensure that we are ready for a successful long-range session.
The Pre-Match/Pre-Session Confirmation Group
Even after a thorough zeroing process and mid-range validation, we have established a mandatory ritual before any important match or long-range shooting session: firing a short confirmation group at our primary zero distance (which, for us, is almost always 100 yards). This isn’t a full re-zeroing session; it’s a quick check to ensure nothing has subtly shifted since our last major confirmation. Rifles get bumped, optics can loosen, and even changes in temperature or altitude can cause minor shifts in point of impact. A 3-shot group fired from a stable position at 100 yards provides invaluable peace of mind. If the group centers precisely where our previous recorded zero indicated, we do not make any adjustments. We trust our established data. However, if there is a consistent, measurable shift in the group’s point of impact, we make small, measured corrections. The key here is “consistent shift”—we are looking for a clear pattern, not reacting to a single flyer. This quick confirmation prevents us from starting a session with a compromised zero and ensures our confidence in our equipment is absolute.
Resetting Turrets and Comprehensive Documentation
After all adjustments have been made and our zero is confirmed to our satisfaction, the final mechanical step is to reset our turrets to zero. Most quality scopes allow the elevation and windage turrets to be mechanically “zeroed” or “reset” once the scope is optically zeroed. This means that when our rifle is consistently hitting point of aim at 100 yards, our turrets read “0.” This provides a clear, unambiguous baseline for dialing long-range come-ups during the session. If we need to dial 8.5 MOA for a 600-yard shot, we simply dial up to 8.5 from our zeroed turrets. Without this reset, we’d be constantly adding or subtracting from an arbitrary starting point, introducing unnecessary complexity and potential for error.
Equally important, and often overlooked, is comprehensive documentation. We meticulously record all final zero data. This includes: the exact ammunition used (brand, bullet weight, type, lot number), the ambient temperature and altitude at the time of zeroing, the torque settings on our scope rings and action screws (if applicable, as consistent torque can affect point of impact), and the specific shooting position and supports used during confirmation. This detailed record serves as our baseline. Should we ever suspect a shift in zero, or if we change ammunition or travel to a significantly different environment, we have a precise reference point to return to. This documentation transforms our zeroing process from a series of individual events into a well-managed, data-driven system for consistent long-range accuracy. This meticulous approach ensures that we are always prepared, always precise, and always confident in our ability to make hits at extended ranges.
FAQs
What does it mean to confirm zero in long-range shooting?
Confirming zero refers to the process of ensuring that a rifle’s sights or scope are accurately aligned with the point of impact of the bullets at a specific distance. This is crucial for long-range shooting, as even minor misalignments can lead to significant deviations in accuracy.
Why is it important to confirm zero before a shooting session?
Confirming zero is essential because it ensures that the shooter can accurately hit their target at the intended distance. Without confirming zero, shooters may experience unexpected bullet drop or drift, leading to missed shots and wasted ammunition.
How often should I confirm zero on my rifle?
It is recommended to confirm zero whenever you change ammunition, make adjustments to your scope, or after significant changes in environmental conditions. Additionally, it’s a good practice to confirm zero periodically, especially if the rifle has not been used for an extended period.
What steps should I take to confirm zero?
To confirm zero, first, set up a target at the desired distance. Next, fire a group of shots while maintaining a consistent shooting position and technique. Afterward, analyze the group’s placement on the target and make necessary adjustments to the scope or sights to align with the point of impact.
What tools or equipment do I need to confirm zero?
To confirm zero, you will need a reliable rifle with a mounted scope or sights, appropriate ammunition, a stable shooting rest or bipod, a target, and possibly a spotting scope or binoculars to observe shot placement. A rangefinder can also be helpful for measuring distances accurately.